Staging
The Staging feature lets you create a fully isolated sandbox copy of your website, cloned from a saved snapshot, that allows you to safely test changes (plugin/theme updates, configurations, content changes, and more) without affecting your live site.
Essentially, it gives you a "playground" environment in the cloud, separate from production, where you can test everything from the live site - without the fear that you will mess something up it.
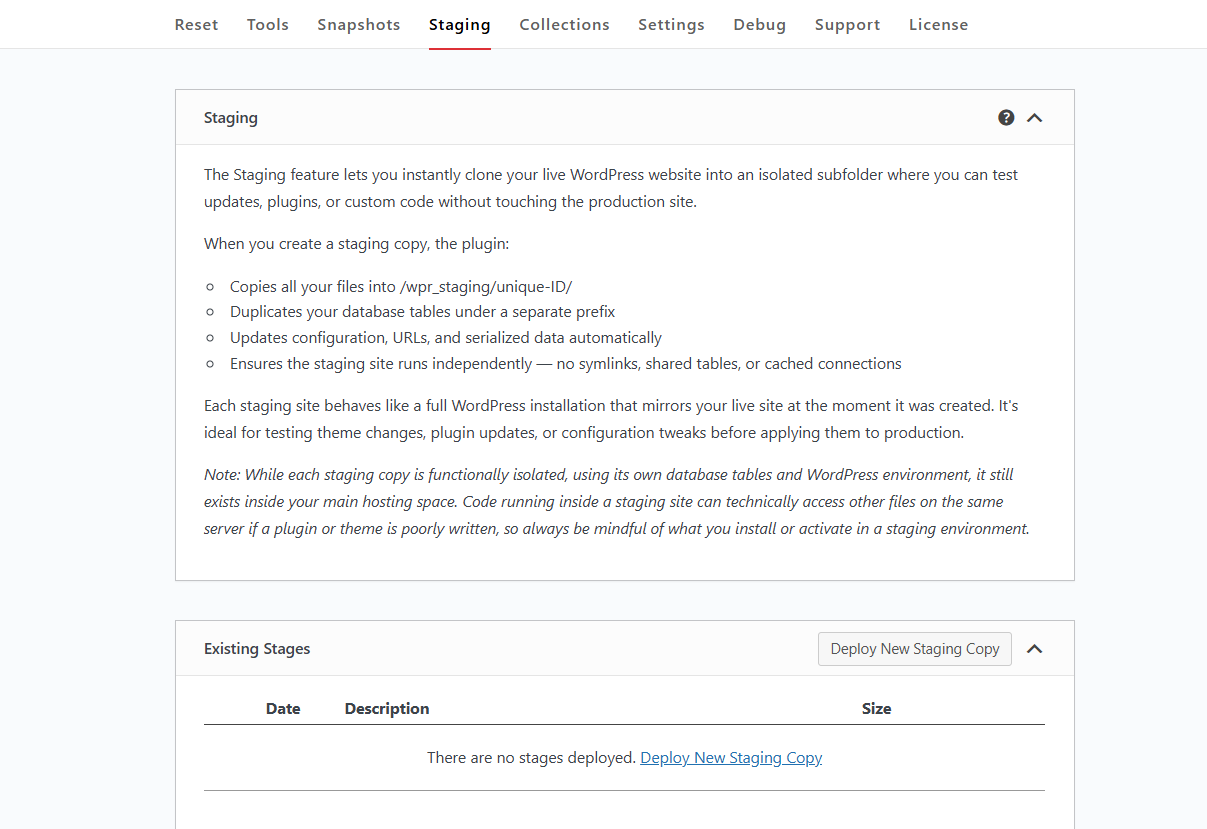
When you generate a staging site, the plugin does the following:
- Clones all site files into /wpr_staging/unique-ID/
- Creates a separate set of database tables using a different prefix
- Automatically adjusts settings, URLs, and serialised data
- Makes sure the staging environment is fully isolated, with no shared files, tables, or cached links to the live site
The Staging feature is available for the Agency plan only (activation required when creating or editing licenses via the WP Reset Dashboard).
A staging site is treated as a completely separate installation (even if under the same domain + subdirectory). Snapshots, resets, or changes done on staging will not affect the live site, and vice versa.
Snapshots created on staging cannot be loaded onto the live site (or another site), and snapshots from the live site don’t automatically propagate to staging. Each environment manages its own snapshots independently.
The staging feature is particularly useful if you want to test risky operations (e.g. full resets, plugin/theme swaps, structural changes) but avoid downtime or data loss on your live website.
How does it work?
Instead of testing plugin/theme updates or major structural changes directly on production (or risking something breaking), you can now:
- Take a snapshot of your live site.
- Spin up a staging copy in the cloud.
- Run all updates and tests there.
- If everything works, manually apply changes to live.
- If something fails, discard staging; live remains unaffected.
This is especially helpful when you maintain multiple plugins and want to avoid breaking live sites while working on updates or changes.
How to set up a staging version of your website using WP Reset PRO
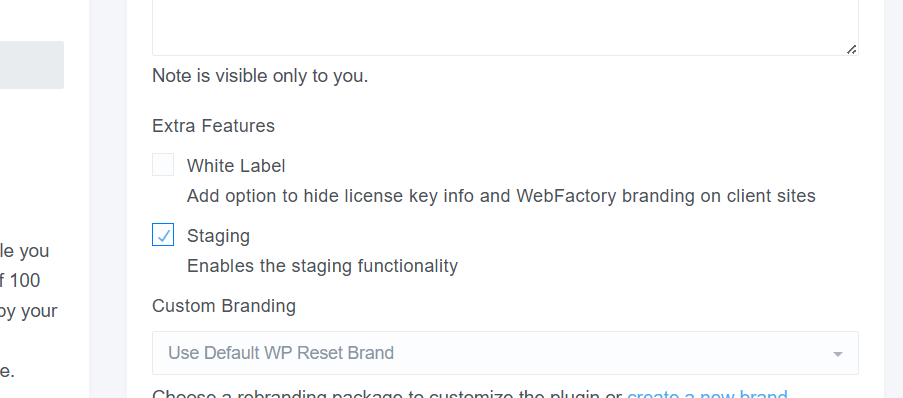
To use the Staging feature in WP Reset PRO, you first need to turn it on in your dashboard. Open the Licenses section, choose the license assigned to your site, and then enable the Staging option on the right side.
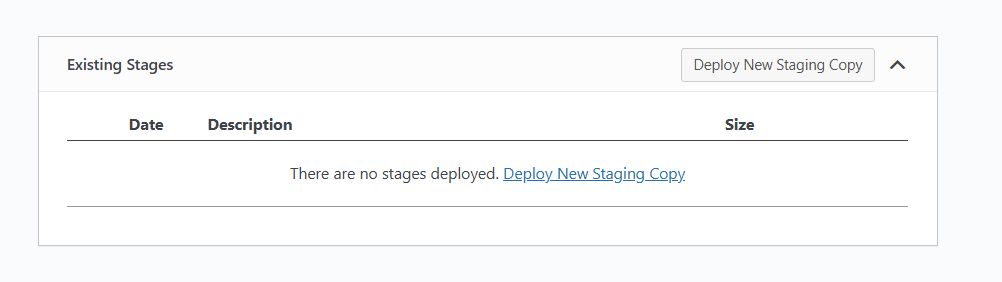
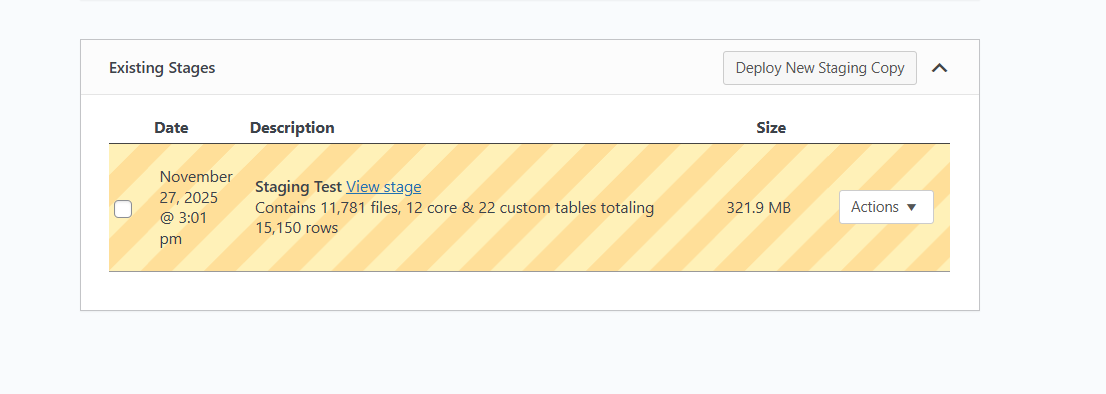
After that, you will see the Staging option in the taskbar of the plugin. Scroll down to the bottom and press Deploy New Staging Copy.
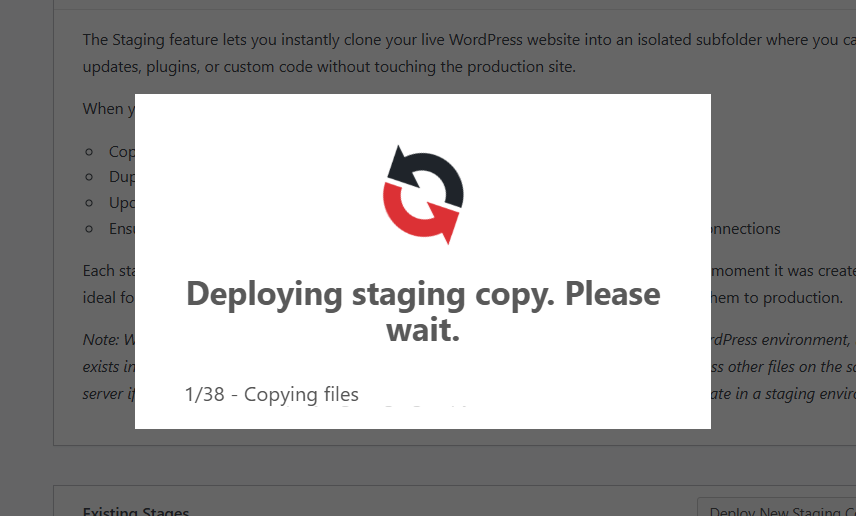
Enter the staging copy name (use something simple like staging or staging-2025-11-28), and press Create (larger sites take longer).
WP Reset will now create a separate copy of files and database entries for staging (the tool places the copy under a staging folder and duplicates database tables using a separate prefix so the staging runs independently).
Now that the staging copy is completed, you can proceed with the desired testing. Open the staging URL, and check the front-end pages, plugin functionality, forms, checkout (if possible), permalinks, admin tasks... If you added or changed code, verify error logs and enable wp-debug if you need debugging info - WP Reset provides debugging tools as well.
You can now freely install/update themes/plugins, run tests, and confirm fixes. If something breaks, no need to worry - you can safely restore the staging snapshot.
Do not test destructive actions on live - perform them in staging first.
Extra Tips
- Always keep at least one full backup of the live site before you create or sync staging. WP Reset snapshots are useful, but full backups are still recommended.
- If you manage multiple sites, consider using the WP Reset Dashboard to control which licenses/sites have Staging enabled.